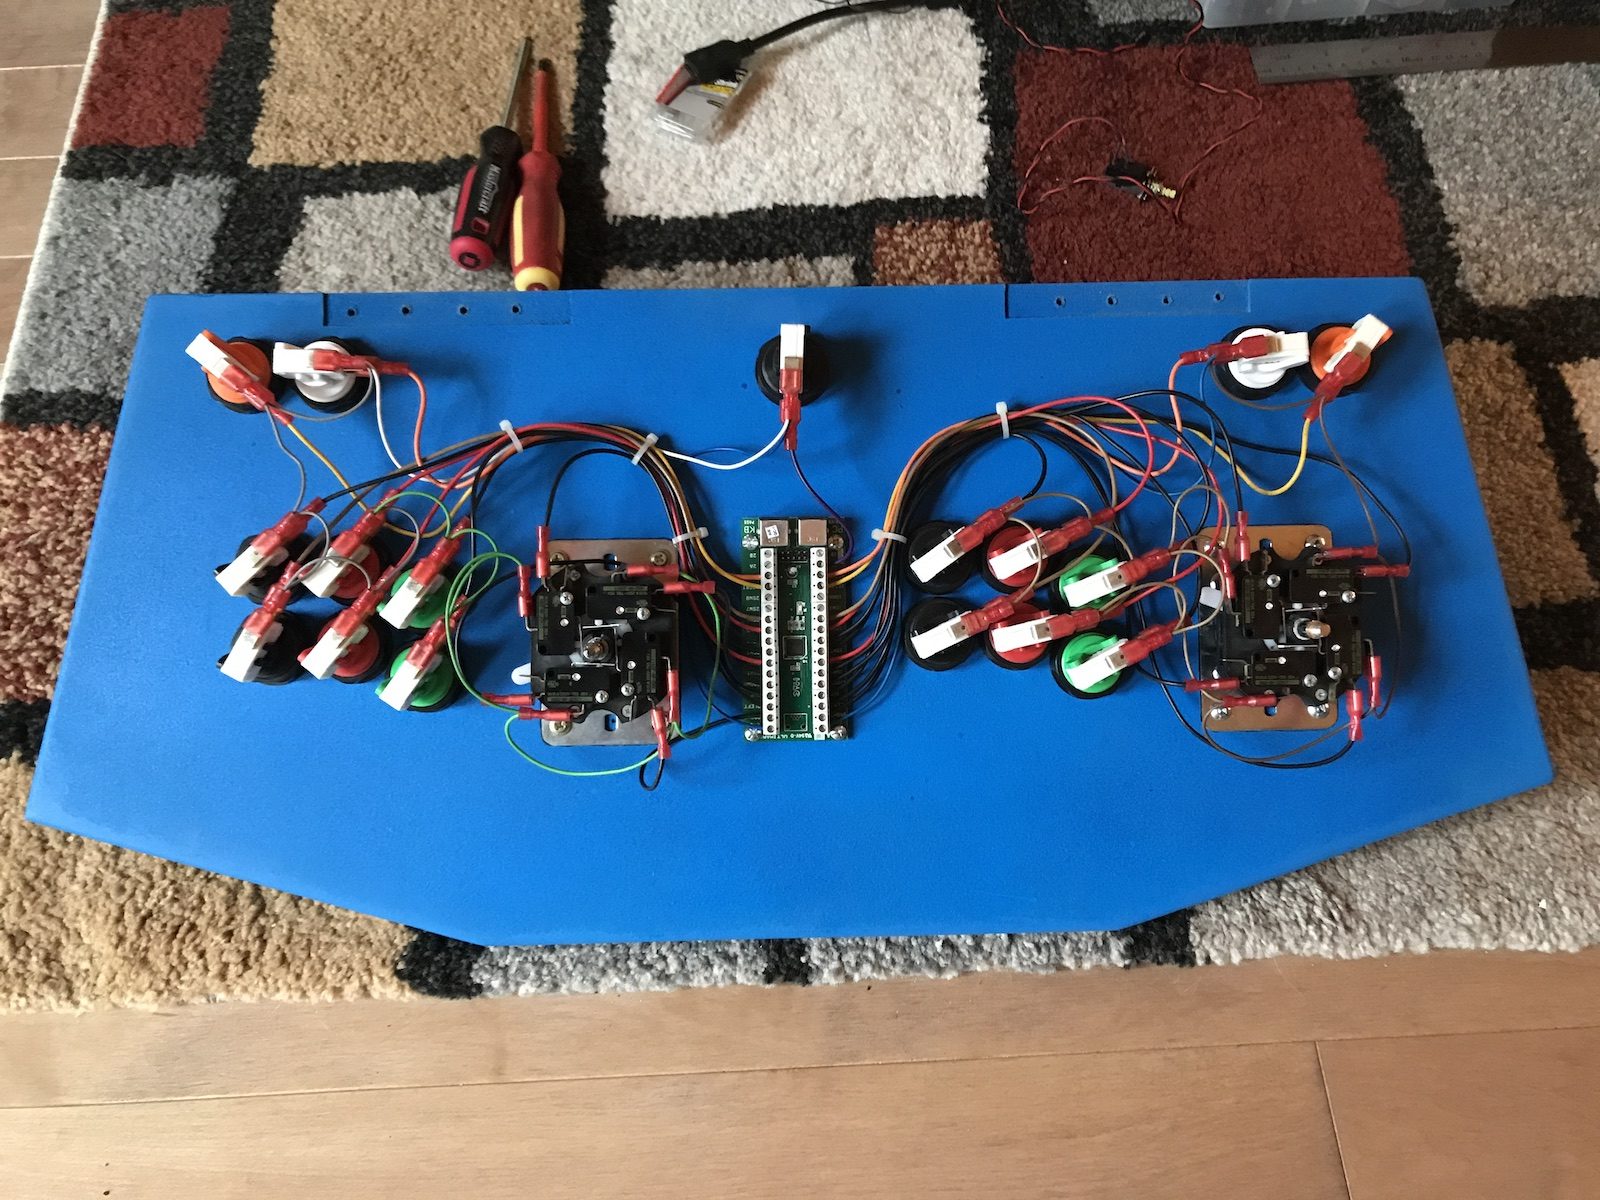
I recently built some proper storage areas in my house and while I was opening boxes and moving things onto shelves I ran into a big stack of electronic parts. In another box I found some forgotten joysticks and buttons. I put two and two together and figured there was something nice that had to come out of all that electronic wasteland.
I’ve know it was possible to build your own arcade cabinet for at least 2 decades but I never really had enough resources or money or space to make one. Instead I started collecting interesting electronic parts over the years in the hope that someday I could justify building a full arcade cabinet.
The funny story is that I have never really been a gamer. The only reason I wanted to build such gaming platform is because it reminds me of the 8 year old me playing 1942, Street Fighter 2 and Metal Slug during my summer vacation.
Now, I don’t know if you can picture an arcade cabinet in your head but think of it as a refrigerator size console that has a big old TV inside and that only plays one game. I see two major problems with that. First, I do not have space for a second refrigerator in my house; the only space I have is in the garage and I know I will not go in the garage to go play a game. Then, as I am not a gamer, I will not play a game on my own. This is supposed to be a socializing device where you have fun with other people.
With these ideas in mind, I decided to make my own modern version of the arcade cabinet. Knowing that most people have TVs with HDMI connections, I opted for a cabinet with no screen. That saves on weight, complexity and costs. Instead I will just provide and HDMI port. It also makes it more portable when you want to bring it to your friends place.
Looking at my stack of electronic parts, I spotted some speakers, 12v computer fans, a Raspberry Pi4, some 22 gauge cables, a power switch, a heatsink and the I-Pac controller with joypad and buttons. That should do it!
Even though the prototype ran fine, I ended having to purchase a box of 18 gauge female quick disconnect as well as a USB cable extension in order to make things more tidy.
Design
This step gives you lots of freedom but you have to know what you want and what your limits are. In my case I want the unit to be portable and have controls for 2 people or more. On top of that I want to reuse old electronic parts and buy as little new hardware. The fans and cables are from old computers, the power switch from a printer, the buttons and I-Pac controller bought from some local guy years ago, the RPi4 from an old project.


Woodworking
I am using left over MDF from my CNC project. MDF is straight homogenous and cuts like butter. On the down side, it makes a lot of dust and putting screws on its side requires a combination of dark arts and wizardry.


Wiring
The wires come from computer power supplies. We used to recycle a lot of those when I worked at Computers for Schools.


Finishing Touch
I had some black spray paint left over from painting the rebar I used to build my stairs railing. The blue paint was for a mural project that hasn’t been finished yet. Heat sinks are old computer ones and the speakers where donated by Computers for Schools.


Software
The software I use on this project is called Retropie. It is a free software build upon a Raspbian operating system and preloaded with software such as Retroarch and EmulationStation among others. It does not come with any games but you can easily find your childhood ROM online and copy it onto your system.
Leave a Reply