I recently completed the tube of my 8 inches telescope. For this project, I didn’t have any plans so I had to spend a lot of time figuring out the appropriate dimensions of each elements.
While I was building the primary mirror, I used Mel Bartels‘s website a lot. It really is a very good source of information and advice for anyone building fast telescopes. One of his recent project is a 10.5 inches F2.7 dobsonian telescope. I really liked the hexagonal design of the tube and I started to look for other geometric wooden telescope. As an amateur woodworker, I didn’t want to go with Sonotube or PVC and I wanted to avoid plywood if possible.

Here’s another beautiful telescope I found on Stargazers Lounge. It has an octagonal structure and is made out of walnut. The build quality is just remarkable.

Finally, I stumbled upon Normand Fullum wooden telescopes which seem to be coming straight from a Jules Verne book. The scopes have a 16 faced hardwood structure and the mounts are totally out of the ordinary.

With all these ideas in my head, I started to look for wood to make and octagonal scope. I was given some Western Red Cedar trims which unfortunately where not large enough to build a big enough octagnal structure. I decided to double the number of sides and go with a Hexadecagonal tube (16 sides). After resawing, planing and sanding I had 16 boards 1/4 inch thick.
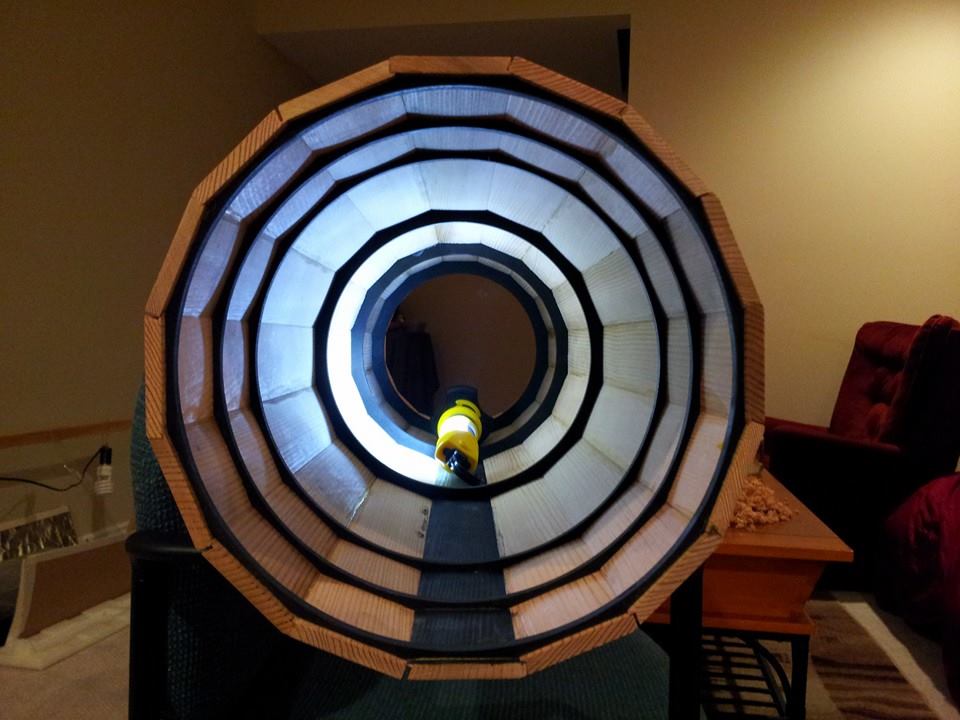
To make sure my design would work, I used Newt for the Web which enabled me to test the absence of vignetting, the right position of the focuser, the size of the elliptical, etc. Using this software, I realized it was calculating the position for baffles which are designed to block internal reflection on the tube. I originally didn’t plan on including those but I realized they would help me give strength to the instrument.

Once I finalized the design using Newt, I ordered an elliptical mirror (1.83 in L/18) from Antares Optics. I also started to design the baffles using Inkscape. The 3 baffles closer to the front of the tube where so thin, I had to laser cut them on an Epilog laser cutter at the local hackerspace (Yukonstruct).

With the baffles cut, I started to think about how I would glue the 16 sides together. A friend of mine mentioned using bird’s mouth joinery. It would give strength and ease of clamping during the gluing process. I bought a kit of bird’s mouth router bits from Busy Bee Tools and routed one side of each board. Then I taped the boards together and placed them around the baffles for a test. That gave me a rough idea of what size I needed for each board.

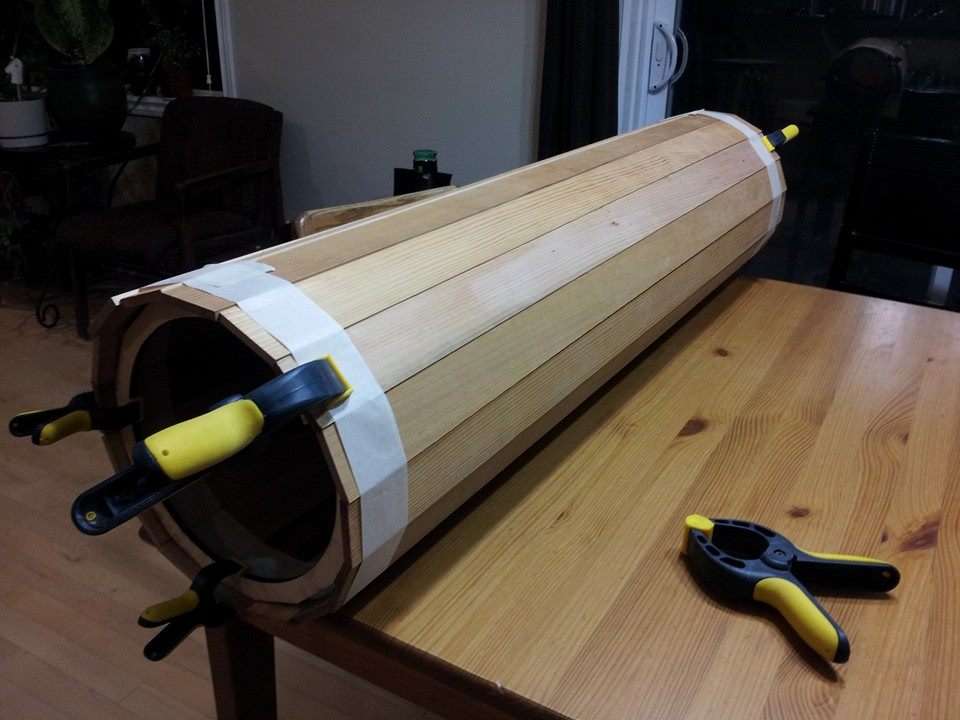
After hand-planing the boards on the non-routed side, I started to glue them on the baffles on every other segment of the hexadecagon. I glued the other sides after adjusting their size by hand to get them to fit properly.
Once the tube was complete, I sanded the edges and faces using 100, 220, 400 and 600 grit. I also coated it with 5 coats of spar varnish on the outside and india ink on the inside. I applied 3 coats of spray polyurethane to waterproof the inside.


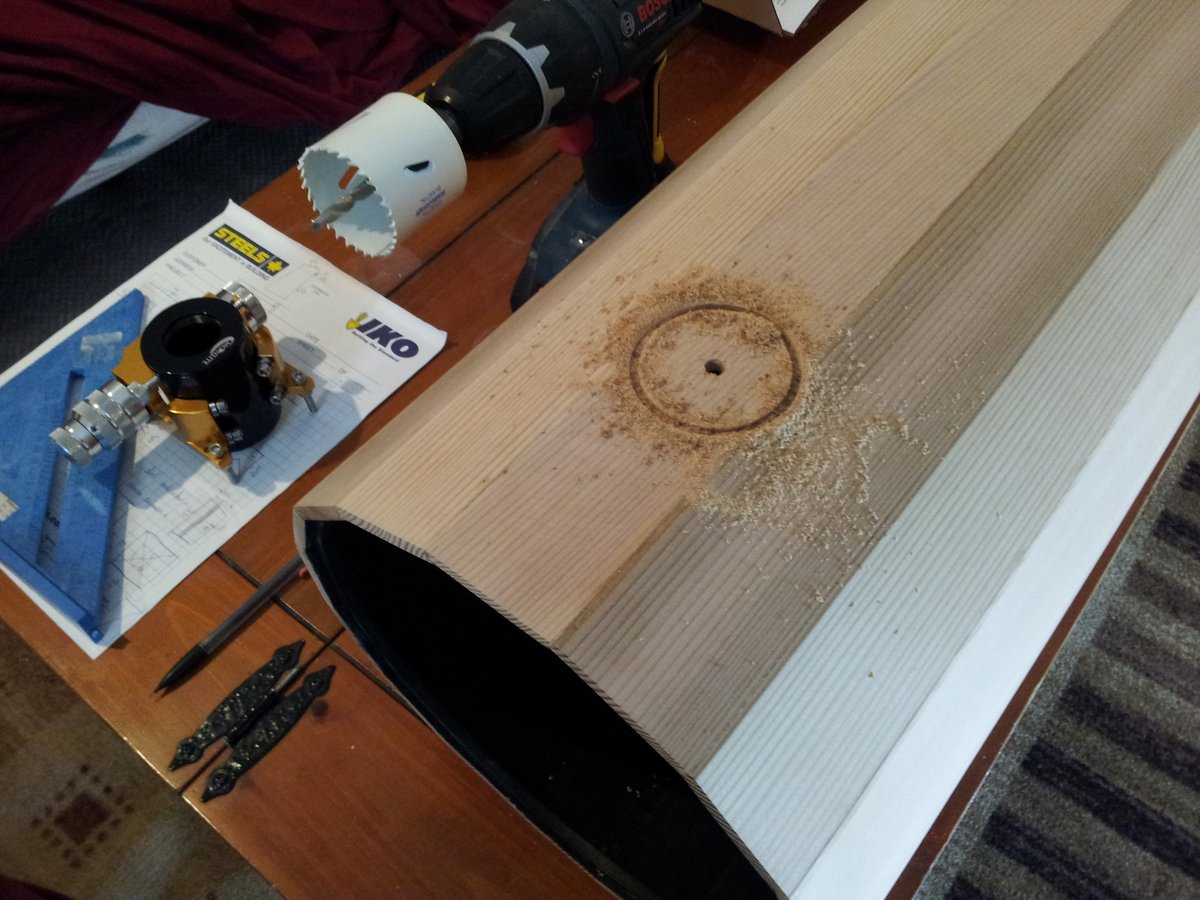
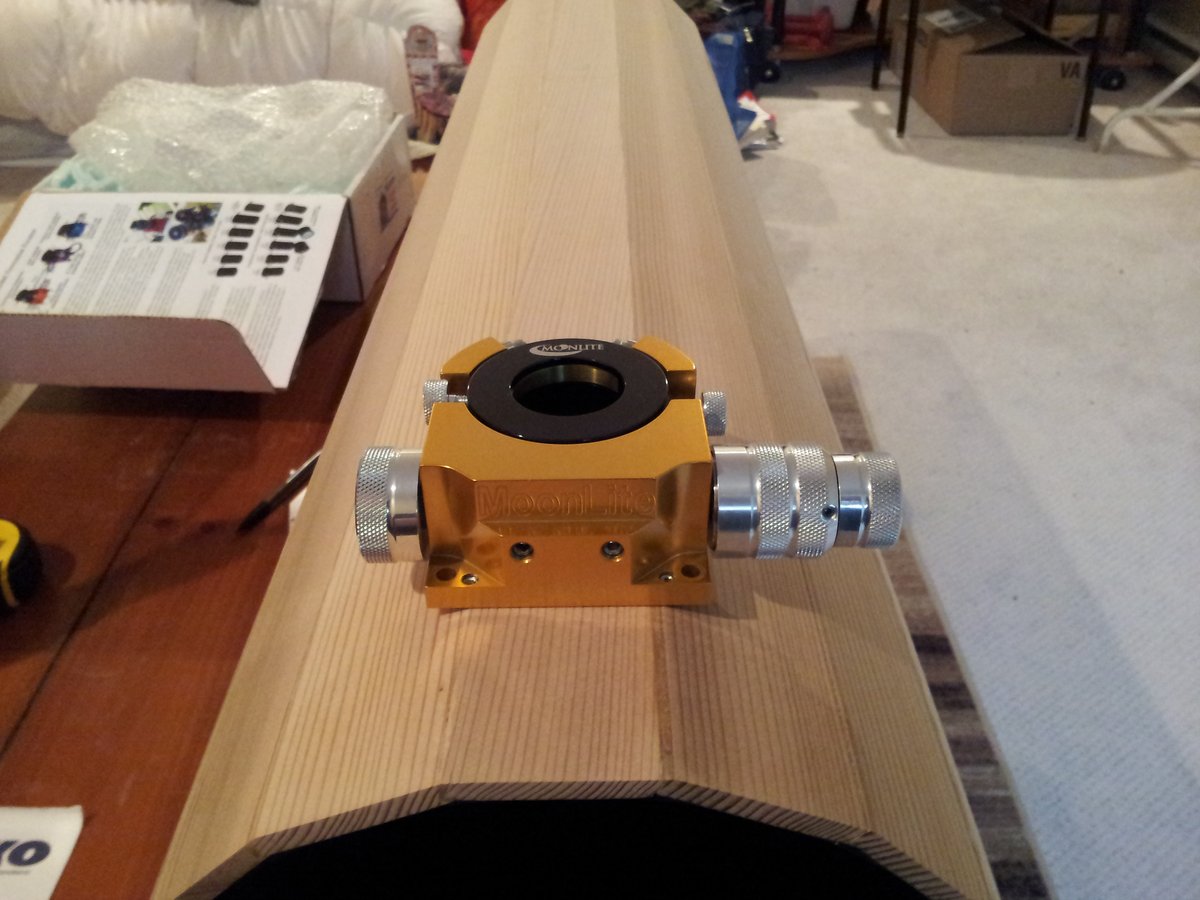
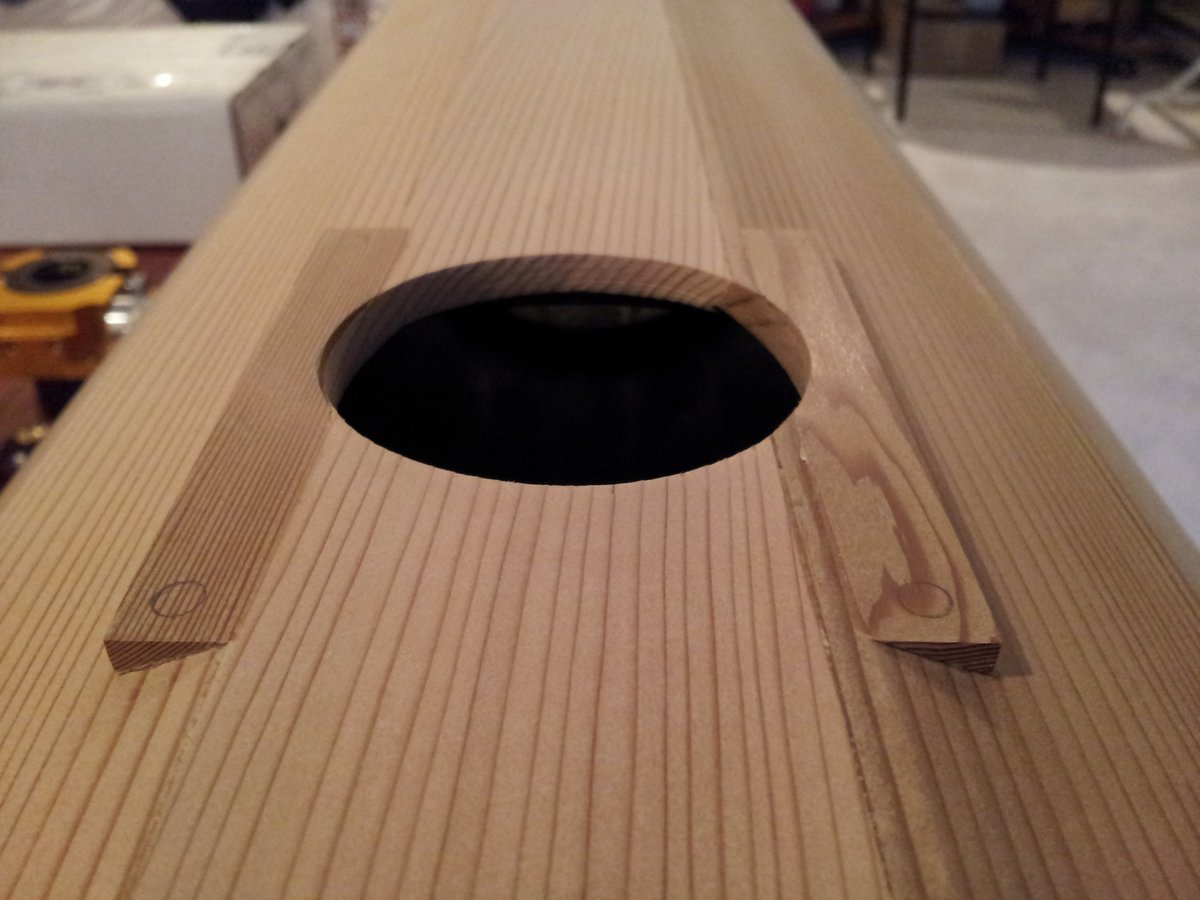
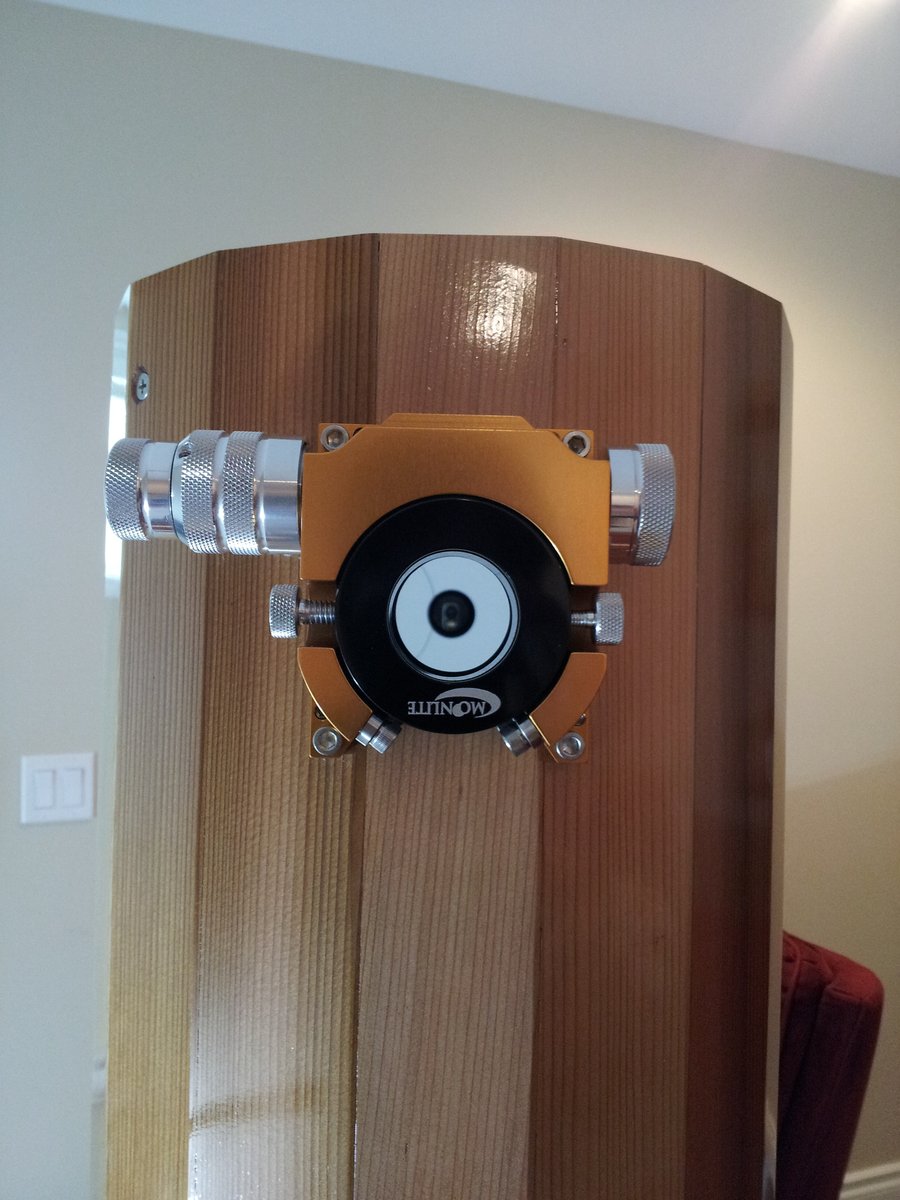
The next step was to drill a hole large enough for the focuser. I bought a Moonlight Crayford with a 2 inches tube and a 1.5 inches travel length. I used a 2.125 saw and filed the edge to make it a bit larger. I also had to create small cedar parts to accommodate the width of the focuser and the shape of the tube. I then drilled 4 holes to hold the focuser in place.

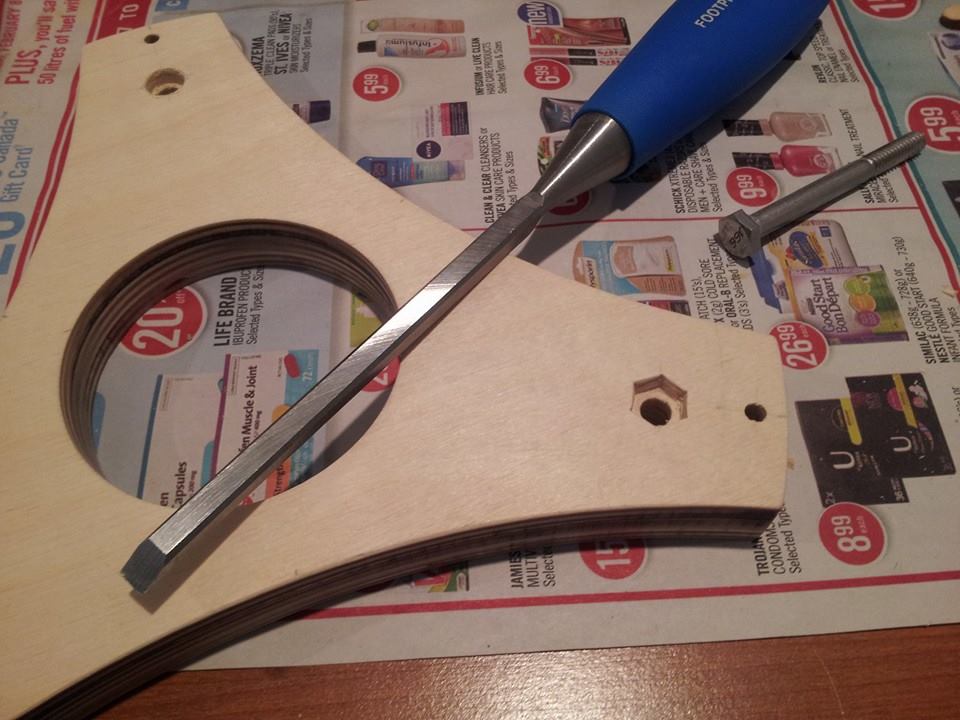
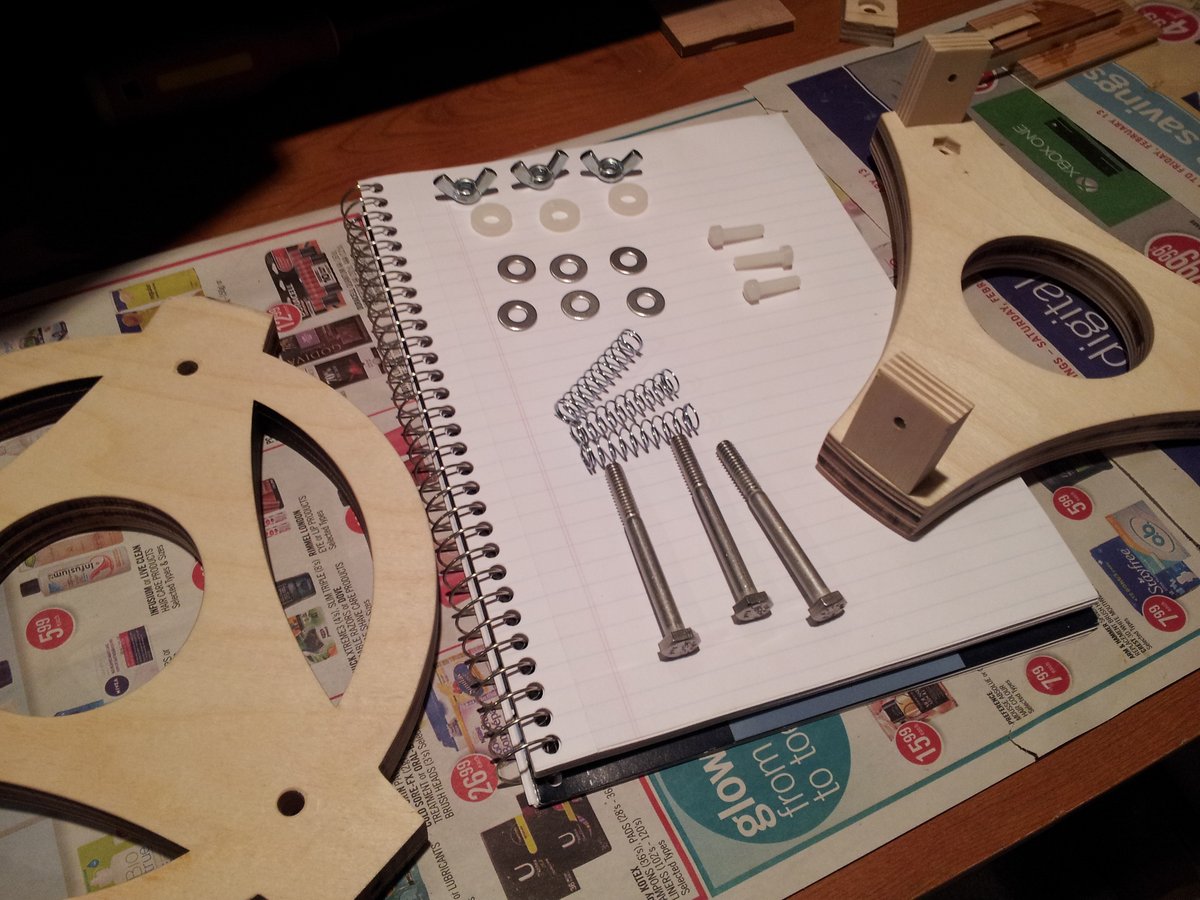
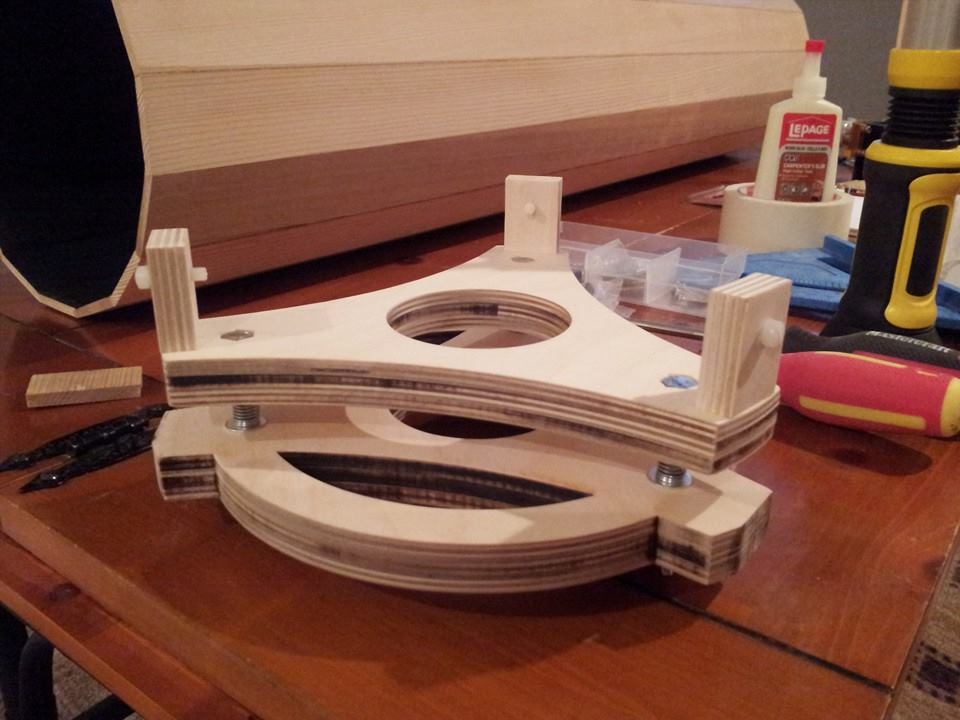
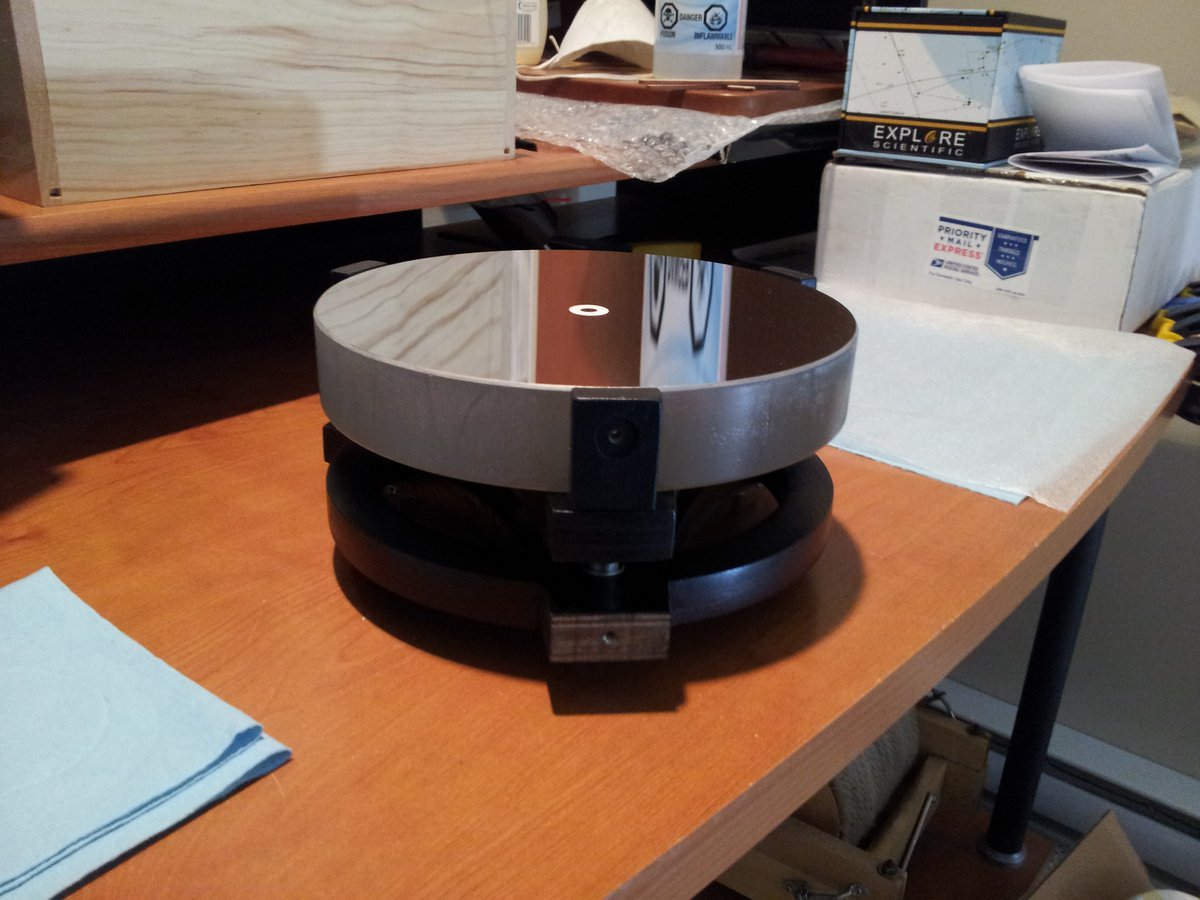
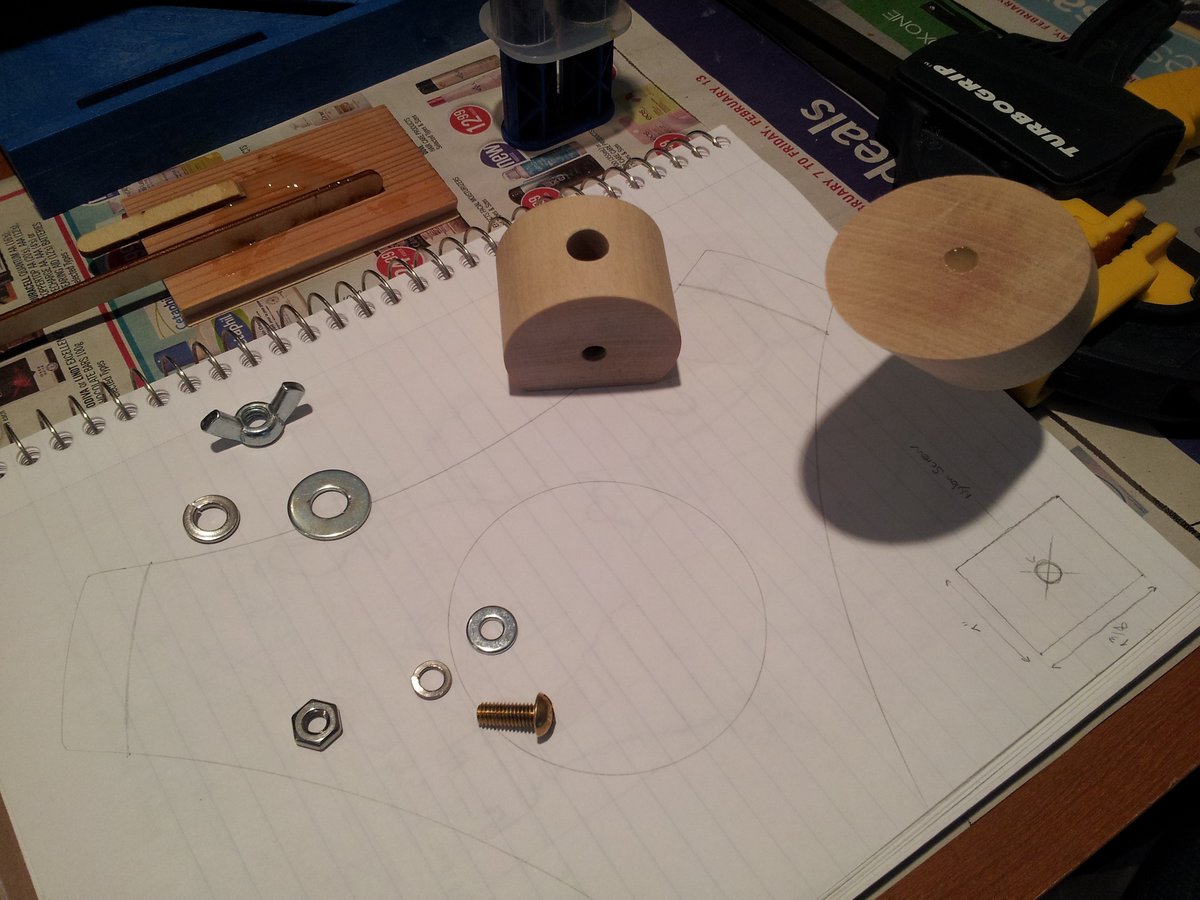
The next step was the primary mirror cell. I created it the same way I did for the baffles by making an SVG file and cutting it with the laser. I used 1/4 inch baltic birch plywood so I had to glue 3 parts to get a good support. I used standard hardware (hex bolts, wing nuts, nylon washers and screws, compression springs) and painted the wood black and applied polyurethane on it. The primary mirror rests on 3 silicon glue dots and is maintained on the side by 3 nylon screws.
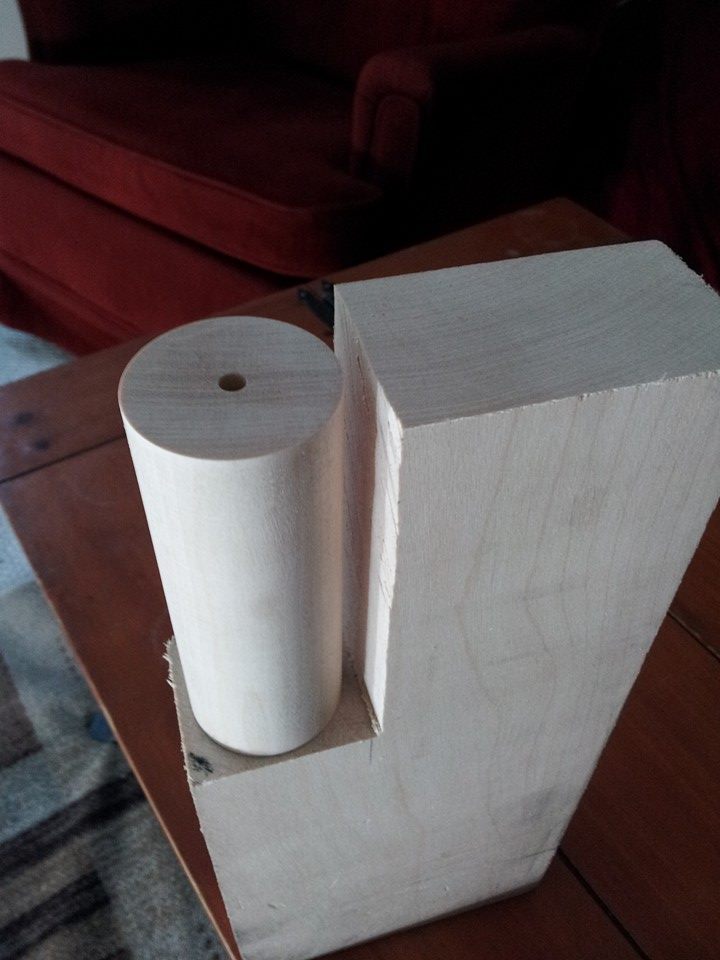
The secondary mirror holder is inspired by Gary Seronik’s design. I used a steel ruler for support and made a dowel from 2 inches thick birch stock. The mirror is glued to the dowel using silicon glue.

The first light was on may 3rd as I aimed at Venus with the sun still shining. I could clearly see the gibbous phase with an 11mm Explore Scientific wide angle eyepiece. I could see a slight bit of chromatic aberration on Venus but that probably comes from a bad manual collimation.
I then spotted Jupiter with sun still above the horizon and I got a dramatically sharp view of the planet with 2 bands clearly visible and a transit of Callisto. Europa and Ganymede where really sharp too.


For a scope not intended for planetary observation, I am really pleased with the results and can’t wait for the darkness to come back in August to hunt for galaxies.
If you want to build a similar telescope, you can download the .newt and .svg files I used for the design.
Dr. Carl Franklin
Absolutely beautiful in its simplicity, design, and overall quality of workmanship. I’m starting my own 8″ project and will liberally steal some of your ideas. 😉
Thanks for so much detail and a great site.
Thomas
Thank you Carl. Please steal as many ideas as you want. This is the whole purpose of this website 🙂
Good luck with your 8″ project. I find it to be a really good compromise between aperture and ease of use.
Mike Klensch
Wow… I am inspired. I have been considering a DIY scope for some time and have thought about doing something very similar to what you’ve designed. It is a beauty and I hope I can pull off something half as beautiful. Thank you for posting this.
Mike Klensch
Robert nelson
Good work I am planning to build 8 inch scope with oct shape could you tell me where you got your mirror from
Thomas
Hi Robert,
I got the blank and abrasives from here: http://firsthanddiscovery.com/8-inch-telescope-mirror-kit.html